Sunday, September 28, 2014

Crosman 1377 Converted to a Rifle

My air gun obsession has transformed into more of a hobby lately. It took about 5 years but I can now go to Walmart and not "have" to walk down the air gun isle. I have sold about half of my collection, even a couple I didn't think I would ever get rid of. My Silver Streak is now protecting Pecans from Nutters in Texas, as it should be, not sitting in a cabinet  collecting dust.
My Daisy 853 and my Crosman 101s aren't going any where and I'm keeping my Disco and 2260 for now.
Some of the others I kept just weren't worth selling, a Chinese break barrel and a B-3 they cost more to ship than they are worth. I have a couple projects gone wrong that I am too embarrassed to even sell as parts
.
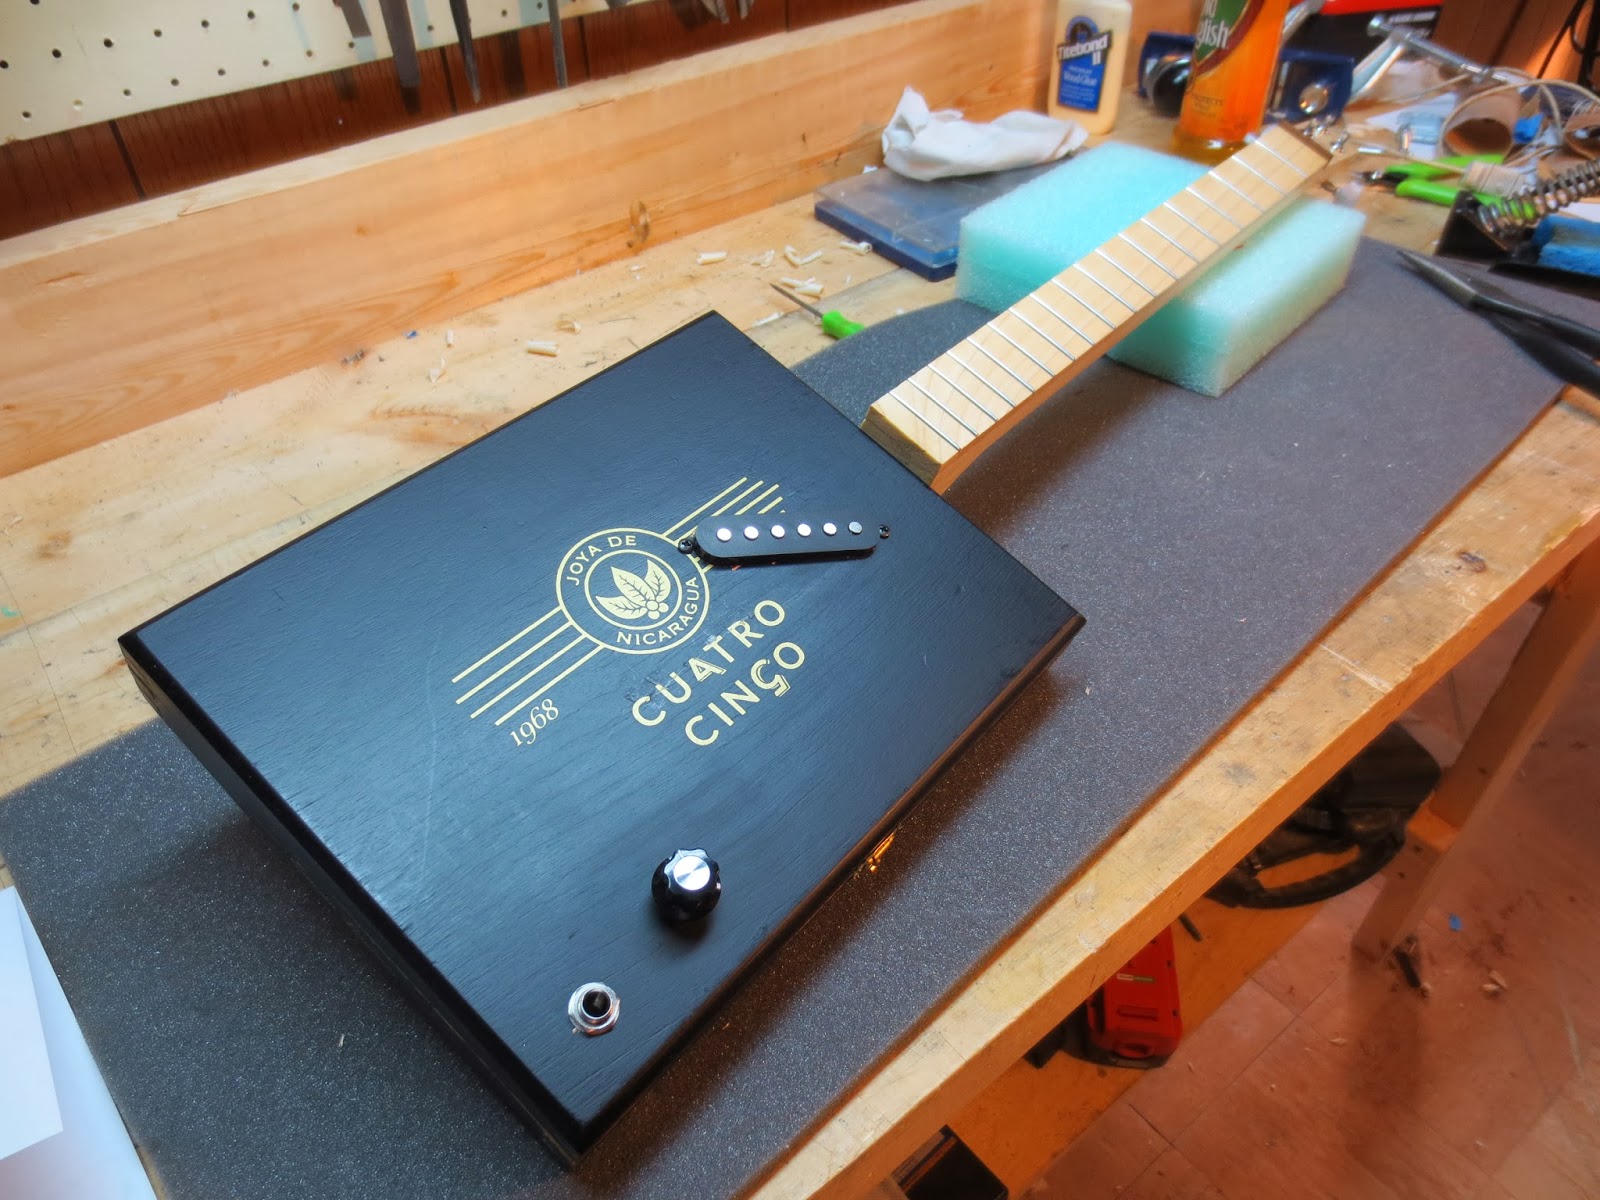
Now on to the main topic, I bought a 1377 at Walmart about three years ago. It was fine, just another impulse buy. I never really liked it, it was just awkward to shoot and not all that accurate. I tried the steel breech kit and built a wood stock for it.... still no joy. I put it in the cabinet and didn't shoot it any more. I would think about it once in a while. I had a couple spare Disco/ 2260 barrels one in .22 and one .177 cal and I had thought the 1377 might be more fun as a rifle than as a carbine or a pistol. 
I tried it as a .22 cal first. My steel breech kit was for a .177 cal but I had a .22 cal bolt in my parts stash. The bolt handle had to be pressed out so it could be installed in the steel breech.


I needed a way to hold the barrel at the end of the pump tube. The 1377 barrel has a shoulder at the muzzle so the existing front sight/ barrel band won't work without modifying it. A 760 barrel band would work.
The 760 band is on the left and the 1377 is on the right.


I had an old school 760 barrel band that I liked better the late model plastic ones. 

One thing I noticed is the transfer port is different size on each end, the larger end fits better in the barrel so that is how I installed it.

I bolted everything together.

Added a scope. 

It was time for some testing. The wood stock is ugly but it does the job, a 1399 stock from Crosman would look better.

Velocities are pretty low as expected shooting .22 cal pellets, but match up with the 500 fps advertised velocity for a 1322. Shooting CPHP  I got 350 fps at 5 pumps and 450 fps at 10 pumps.  
To check accuracy I shot from the bench, rested on a bag at ten yards, 5 pumps for each shot. I shot 10 each RWS Superdomes and Crosman Premier from the cardboard box. Both pellets shot great but the RWS beat the Crosman. Hard to beat the accuracy.

I was more than happy with the accuracy as a .22 but wanted to see what it would do as a .177 cal. A quick barrel swap and bolt change then it was time for some more testing. The velocities were where I expected, 470 fps at 5 pumps and 575 fps at 10 pumps. Right in line with Crosmans' vague "up to 600 fps" claim.
Accuracy was about the same in .177 cal. CPHP was the looser at a 1" group but the RWS pellets showed promise with the Superdomes coming in at 1/2". This was the maiden voyage for this barrel, these were the first pellets through it. I'm sure the groups will tighten up as it gets seasoned. 

I haven't decided if it will stay a .177 or if I will switch it back to .22. Either way it will see more use as a rifle than it did as a pistol.


Friday, June 6, 2014

Crosman 1600

My latest project was found at a yard sale. I didn't really need it or want it but.... the seller dropped the price to $10 and I just couldn't pass it up. Since it's a smooth bore BB shooter I don't expect much in the way of accuracy.

According to the Crosman web site the 1600 was made from 1979 to 1990. It is modeled after the Colt Woodsman. It appears  that the 454 pistol made from 1978 to 1982 is the same pistol but unlike the 1600 the 454 has an adjustable rear sight.
The spring loaded magazine will hold 16 or 17 BBs and will empty the magazine as fast as you can pull the trigger. With a velocity of 350 fps and 80 shots per cartridge this pistol is a soda can killer.
The seal for the CO2 cartridge is worn out and leaking, luckily Crosman still stocks this seal and I have a replacement on its way.
I was able to slow down the leak by pulling the worn out seal and flipping it over. I managed to empty a magazine full of BBs before the seal started leaking again.
 

This shot group is encouraging, about half of the 16 BBs went int a nice small group. I was shooting at 5 yards, off hand. 
Once I get it sealed up I'll find out if this group was a fluke or if this pistol is as accurate as it appears to be.

Saturday, May 17, 2014

Electronic Target

I have been toying with the idea of building an electronic target, a reactive target with lights and sound. I looked at having the target keep score, and it could be done but it would be more complicated than I want to  tackle right now. I decided to proceed in small steps since it has been about 30 years since I did any real work with electronics. It has been a challenge relearning what used to come easy to me.
The first step was to see if I could make a trigger that would detect a pellet. A trip to the local Radio Shack and I had my phototransistors. I had the LEDs in my parts stash along with some transistors to make a latch that would keep an LED lit if the photo-transistor detected the pellet. I built the circuit on a breadboard and mounted my "pellet detector" on a target  built with a 1X6 with washers over holes drilled in the board. It took some tweaking and tinkering but I was able to get it to sense a pellet passing between the LED and photo-transistor.

This is an old target, originally it had pieces of pipe hanging behind the holes that would "Ring" when the pellet made it through the hole in the washer. I removed the pipes so I could use the target to build my Proof of concept pellet detector.

The LED and Phototransistor are taped to the back of the target and lined up across the hole. The latching circuit is on the breadboard. It's powered by a 9 volt battery.


It took some tweaking and cussing but I got it to work dependably. The sensor is behind the lower right target. when the pellet passes through the hole it turns on an LED next to the target.


Now that I know I can detect the pellet I will move on to the next phase, building a target that lights up and makes noise. I'm thinking a green LED for a successful shot and a buzzer for a miss... 
The next version should be a bit more finished looking.


UPDATE - PHASE II

I made up another target with one 1/2 inch target and one 1/4 inch target. I used a yellow LED to indicate a good shot on the larger target. I used green LEDs to indicate a good shot on the smaller top target. The LEDs are mounted in a piece of Lexan on top of the target.


The backside of the target is less than clean..... This is just for fun, and making things tidy isn't much fun.

I have a circuit bread boarded to indicate a miss. It uses a piezo pick up to pick up vibrations through the board the target is made from if a pellet hits it instead of making a clean pass through the hole in the washer.  A miss lights up a red LED and starts a buzzer. I made a short video of the target, the buzzer is hard to hear in the video but it works.....


This video shows the target in action. I'm pretty happy with the results, it lights up and makes noise. I'll have to get the buzzer circuit on a circuit board and mounted permanently before I call this project done. in the video the bread boarded circuit is sitting in front of the target so you can see the LED light up. 
I was out of white LEDs so I used a red one for the bottom target, you can see the red glow through the lower target. 
If a pellet clips the washer but still makes it through the hole in the washer the LEDs still light up but the buzzer will go off also letting you know it wasn't a perfect shot....


Sunday, April 27, 2014

Gamo Magnum, Part 3

It has been a while since I worked on this air gun. I was disappointed in the results I got with the replacement O-ring seal I made. When I started I had my doubts as to whether or not it would work and if it did work, how long it would last ? I just wasn't getting a warm fuzzy feeling from this fix.
While driving around yesterday my mind was wandering, thinking about my latest air gun, a Fast Deer (Chinese side lever) Thinking about the leather piston seal it has and how dependable and forgiving they are. Then the Gamo Magnum popped into my mind. Why not build a leather seal for it instead of trying to make an O-ring work or trying to find a supplier of 29 mm piston seals.
I have made a few replacement leather seals in the past with good results and I think this will be an easy fix for this air gun.
To get this project going I built a form from aluminum to give my seal the right dimensions. A 1.112"  recess was milled into a piece of round stock. then a .9" plug was turned to form the shape of the inside of the seal.


The easiest source I have found for leather is at the local Farm and Home store, a tape measure holder. 

I cut out a piece big enough for the seal, soaked it in warm water to soften it up. I also worked some Neatsfoot compound into the leather (mink oil works also). 

With the leather nice and pliable I put it between the two halves of the form and use a C-clamp to force the leather into the form.
 One problem I ran into in the past is the seal comes out with a rounded bottom instead of a nice square corner.
 To make the bottom more square it helps to cut off the excess then use a flat tip screwdriver to force the leather down inside the form. It wont be perfectly square when I remove it from the form but I have found that once it is installed in the air gun and fired a few times the rounded corners disappear.
 The last step is to trim the leather flush with the top of the form. I will leave it clamped over night to give the leather time to dry out and take on the shape of the form.


I turned down some more aluminum to hold the seal in place on the piston and fill up the dead space inside the seal.

Everything went together well. I kept the seal short to keep the swept volume close to where it would be with the correct seal. I added more Neatsfoot compound just before putting the piston in the rifle.
 The following groups were shot at 10 yards from a rest using open sights. I used 3 different RWS wad cutters. They all grouped about the same. Velocities still seem low but I have to remember this air gun was built in the late seventies or early eighties. I haven't been able to narrow it down to an exact year. In that era I believe 700 to 800 fps was a high out put. Regardless these are the results I got....

 Miesterkugeln 8.2 grain averaged 641 fps with an extreme spread of 19.5 fps

 Meisterkugeln 7 grain averaged 758 fps with an ES of 11 fps

Super Magnum 9.3 grain averaged 534 fps with an ES of 26.4 fps. I had to move my POA down as the POI was off the paper with the first shot. 

So far I'm happy with the way it is shooting. I'm going to tear it down again and make sure everything is in good shape. This thing has a great trigger and seems to want to shoot well. Once I'm sure everything is good inside I'll mount a scope and see what this thing will really do.

I tried mounting a scope on it and didn't have much success it was hitting to the right of POA with the windage adjustment maxed out to the left. That will be an issue for another day. While I was at it I took the scope off and shot another group with open sights. I was careful with each shot and was rewarded with this group.
Ten shots into one ragged hole, a nice little four leaf clover. 
I may just shoot this with open sights and forget about using a scope.

I thought I'd add a couple pics of the Magnum as it looks now.....


 To finish it off I just need to make a plug to fill this hole.... Maybe some black plastic round stock or just make it out of aluminum, since I have some on hand.

Saturday, April 26, 2014

Fast Deer

On the way back from an overnight trip I stopped in a small town Pawn shop to see if they had anything interesting. In the rack with the powder burners I saw a rough looking early Crosman 760. Having built a couple of those I wasn't really interested in it. I asked the guy behind the counter if he had any other air guns. He pulled out a Chinese side lever, my first thought was it's a TS-45 or QB-58. But it didn't look like the QB I had a while back, no red button on the fore stock and the safety was built into the stock right above the trigger. It was brand new, still in the plastic shipping bag and covered with oil. The box had gone missing however and no markings on it to tell me exactly what it was. The price was right so it came home with me.


Once I got it home and fired a few pellets through it to make sure it functioned, I did a Google search to see if I could figure out what I had bought. I found a Blog written by Tom Gaylord about the KL-3B Fast Deer and that is what I have.
It's a typical cheap Chinese air gun, a little on the rough side. This one does have nicer wood than the B-3s I have owned. There was no need for filler or that muddy stain they are fond of.

The muzzle is interesting, with the bore recessed it looks like a target rifle muzzle. I did a little work to the crown since pushing a Q-Tip through the muzzle left some fibers on the crown.

The first indication it's a Fast deer is the safety in the stock right above the trigger.

The direct sear trigger makes for a heavy pull, even though it is heavy it is manageable. I don't trust the rear sight to hold its setting it is just too sloppy. I did get an okay group using it though. Using RWS Meisterkugeln 8.2 grain the Fast deer is showing some potential with 7 0f 10 pellets going into a group of less than an inch.
CPHP pellets didn't do near as well, more of a shotgun pattern than a group.

I did do a tear down to see what the innards looked like....

There was plenty of crud on the piston. I cleaned everything up and reassembled it. I didn't do any  real tuning just cleaned everything and relubed. I like the shot cycle, pull the trigger and you get a nice solid thunk with no twang. Chrony tests show the velocity is close to what I expected, just below 600 fps, as it breaks in I expect those numbers to climb a little. 
This was another "Impulse Purchase" as most of my air gun purchases are. Over all I'm pretty happy with it, another Chinese preassembled  kit in the shape of an air gun. A little work and it will be a good little shooter.

Saturday, March 22, 2014

My Sheridan 2260 Rant

I haven't posted in quite a while and should I really post a Rant after my long absence? Well, it's my Blog so I guess I can ;)
Let the Rant begin;
I follow Pyramid Air on Facebook and saw they have a new air gun for sale. It's a Sheridan!!!! No wait it is a Crosman 2260 Heritage rebranded as a Sheridan. :(  I have to give PA credit they didn't try to hide the fact that it's just a 2260 with a steel breech kit installed, they came right out and admitted it.
If Crosman is going to try to keep the Sheridan brand alive they could put a little more effort into it. Hell I have a 2260 with a steel breech kit installed sitting in my basement.... So anyone can build a Sheridan? They did put a shiny silver bolt in the steel breech and they added a new plug behind the hammer spring that fills up the repurposed Disco stock better than the one on the 2260 Heritage. (read that last sentence with a sarcastic tone)
They could have at least put a .20 cal barrel on it to make it something special and deserving of the Sheridan name.
End of Rant.

On a more positive note, my little Blog has passed 10,000 views :) A big thanks to everyone!
Spring is on it's way and work is settling down (sort of) so I'm hoping to get back to a couple projects.

Tuesday, February 4, 2014

You Tube Adventures

I stumbled across this video yesterday.


I like R.L. and this video made me smile. The effortless way he plays and the total lack of facial expression, reminds me of the banjo player in the blue grass band The Darlings that used to play on the Andy Griffith show once in a while.
You Tube is a dangerous place, I get lost there once in a while. I can start out watching a "How to" video about plumbing repair and end up watching R.L. Burnside 2 hours later.


Tuesday, January 28, 2014

Electric CBG, Build number 3

I'm on my third CBG build,  I decided on electric for this build.
One of the reasons for going electric is this box is thinner and heavier, I didn't think it would have the acoustics of a lighter, deeper box. This is just a guess on my part....mostly I wanted the higher output of an electric pickup compared to the piezo pickups I used on my first two builds. 

I have the neck built, I'm going with Poplar with a Poplar finger board. The nut is wood, a scrap piece of hardwood flooring. The neck build went smoothly enough this time and I sealed it with polyurethane.


I purchased the pick up from CB Gitty, a "Basic Black" single coil Strat style pick up.

This is going to be another three string guitar and since the pickup is for a six string I'm mounting it on an angle to keep all the poles under the strings. 
I used painters tape to protect the top of the box while did my lay out and cut the hole for the pickup. I used a 3/4" spade bit to get the opening started, I drilled down about half way from the top.  

Then I opened the box and finished the holes drilling from the inside. This left me with two wood doughnuts and very little tear out.  

 I used a coping saw to connect the two holes and sanded the edges smooth. Two holes were drilled for the mounting screws.

A test fit and all is well. The pickup does hit the neck inside the box at this height but a straight edge  shows the pickup will be about 1/4" bellow the strings.

I wanted a little more adjustment and room for the pickup wire so I cut a notch in the neck to let the pickup drop a little lower. 

I'm committed now, the neck is glued to the box. 

I let the glue dry overnight, then moved on to mounting the electrics. 

With everything laid out I cut my wires to length. I pulled everything out and used my "Third hand" to hold everything while I soldered the connections. 

Wired up and mounted.

The tail piece and bridge are wood. I used some more of the mystery wood, hard wood flooring scraps. 

The tailpiece is glued and screwed, just waiting on the glue  to dry before I put strings on. I still need to cut the string slots to depth in the nut and bridge. 

Here it is, strung up and making sounds. I had to add a screw between the bridge and tailpiece, the lid was lifting with the tension from the strings. I also added four screws in the back to hold the lid closed tight. 
It sounds good and the magnetic pickup works well with the distortion pedal.

I'm going to work on getting some recordings made and posted....

An after thought....
It's kind of funny. I didn't realize until after I had glued the neck on that the name on the box is Four Five. 
I could have made it a 4 string or maybe a five string to go with the name. It worked out though since it's a Three string built on a Four Five box.