
The lathe was made in the mid 1930s, I was lucky enough to purchase it from the son of the original owner.


Lucky for me there are plenty of forums, blogs and U tube videos out there to to help me learn the proper way to use these tools.
One of the first projects I built was an oscillating air motor. The video below is of the second one I built. Turn down the sound before you start the video, it is LOUD.
These engines are great for beginners to build as they are simple motors and don't require any close fits or tight tolerances. It is surprising how much fun it is to fire one of these up for the first time.
I decided to build the finger powered motor for a couple reasons. They are simple and the only power required is provided by tapping your finger. Eventually I will build an IC "internal combustion" engine but for now simple projects like this satisfy my need to build/ create something from bits of metal.
I started with the fly wheel. The largest round stock I have is 3" OD but it had a threaded hole in the center. So I bored that hole to 3/4" and made a press fit hub to fill up that hole.


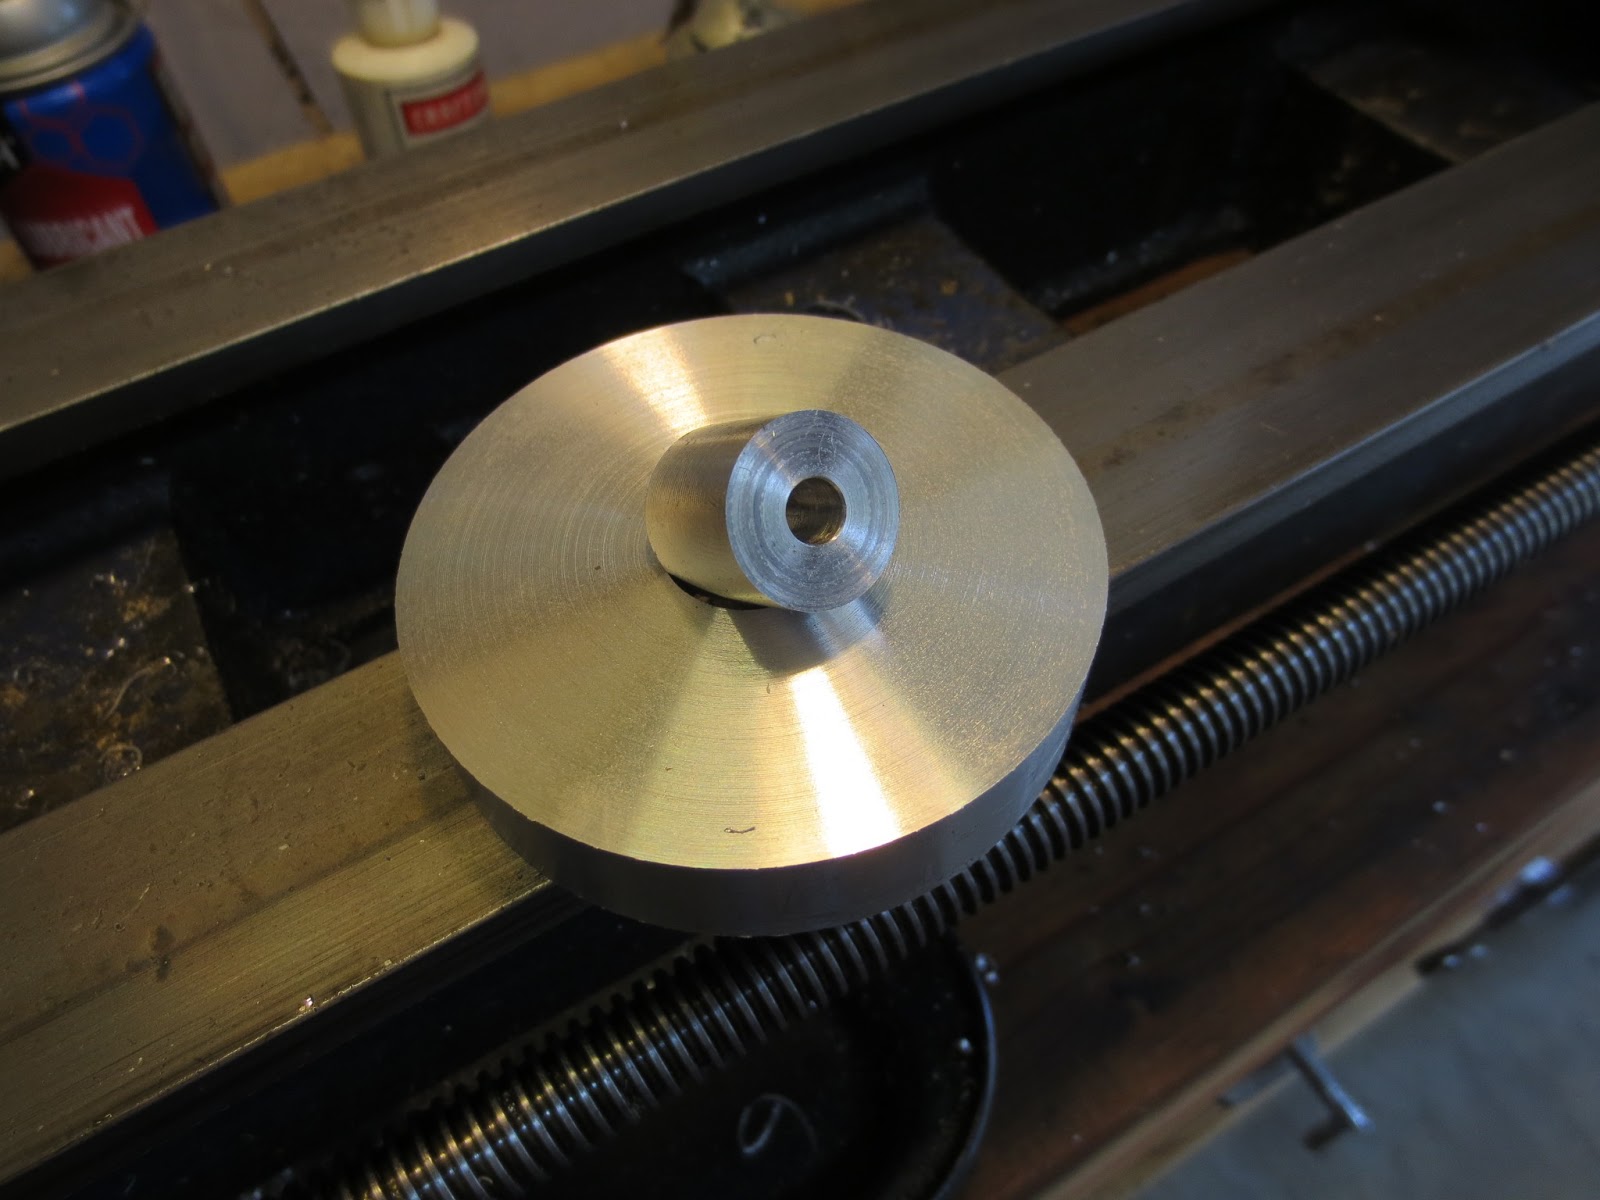
Then I mounted the flywheel in the lathe to add some shape to it. After the initial assembly I plan on disassembling it and adding some cosmetic touches.

I put the hub in the freezer for a couple hours to shrink it a few thousands then pressed it into the fly wheel.

Next up was the upright that the crank shaft is mounted to.


I made a mistake on my first attempt at making the lever but was able to use that mistake to build the connecting rod.

Adding some shape to the lever.

The finished lever.

The mistake turned into a connecting rod

Here are the bits and pieces so far. I still need to make a crank shaft, some bushings and a base but it is coming along quickly. I also need to make a trip to the hardware store to pick up some fasteners

Work is interfering with my shop time but I'll be back as soon as possible to finish this up. I need to get this done before the next air gun shows up, which should be another pistol..... Right Joel?
No comments:
Post a Comment