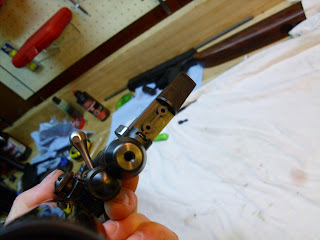
To get to the inner workings of the trigger the action must be removed from the stock. The first step is to remove the safety. The safety slides out after the spring is pulled away from it. I used an O-ring pick (AKA finger stabber) to reach into the slot and pry the spring forward. Once the safety is removed simply remove the one screw that attaches the stock to the action and separate the action from the stock.
I was a bit disappointed to find the trigger housing and blade are plastic. Two screws hold the cover on.
The trigger is pretty simple and easy to work on. The intermediate sear and sear are the usual, stamped out of metal and pretty rough. I smoothed out all the contact points with a diamond hone and polished them with an Arkansas stone. I lubed the trigger with my special grease, a Moly bearing grease that I added graphite to. This polishing and lube will get rid of the gritty feel, now to lighten the pull.
This is the sear/safety spring after I put a little kink in it. I wanted less tension on the sear but still have enough pressure on the safety for it to function. It worked the first time. My highly calibrated eye was right on the money today.
There is a trigger return spring that I also replaced, the original is on the left. I searched through my hardware store spring collection until I found one with an OD close to the original but with lighter wire. It is a little longer but is still lighter than the original spring.
The trigger housing has the bosses molded into it for trigger adjustment screws, all that is needed is a tap and the correct length screws and you are 2/3 of the way through a 3 screw mod. I didn't try this yet as the changes I made gave me a trigger pull that I am happy with.
I had to disable comments for this post, the spammers really like this post for some reason......


No comments:
New comments are not allowed.